Cooking on the Cheap: Homemade Pizza
3September 23, 2009 by OSW
The Husband and I have a weakness. We loves the pizza.
On Eff-Dinner Nights, one of us will swing by the local cheapy pizzeria and pick up a ready-made $5 pie. One is enough to feed us and The Boy, but only barely. It’s fairly affordable, requires minimal effort, and tastes like oily cardboard. Life is full of compromises.
My mother-in-law is renowned in the family for making homemade pizza. Any family potluck gathering, this is her required contribution. I’ve always been intimidated by the idea of making homemade pizza because omg yeast! It’s like a chemistry experiment in the kitchen, and guess who was the class dunce in chemistry back in The Day?
But I have recently overcome my fear of from-scratch baking and I thought, what the hell? I approached my mother-in-law and asked for her pizza dough recipe, expecting all the secrets of the universe to unfold before me.
Turns out, the secrets of the universe are absurdly easy and incredily affordable. I tell you this now: pizzerias are ripping us off. Delicious crust, fresh healthy toppings, these things are cheap and simple to make. I shall now share the secrets of the universe with you.
Homemade Pizza (cost: $3 not counting toppings, prep time: 40 minutes, cook time: 30 minutes)
The Dough:
1 package Active Dry Yeast
2-3 cups all-purpose flour
1 cup very warm water
2 teaspoons sugar
1 teaspoon salt
(makes enough for one large pizza)
The Sauce:
1 large can tomato sauce
1/2 small can tomato paste
1 tablespoon dried oregano (to taste)
2 teaspoons garlic salt (to taste)
1 teaspoon red pepper flakes (to taste)
(makes enough for one large village)
Firstly, the sauce. For it shall simmer during dough preparation.
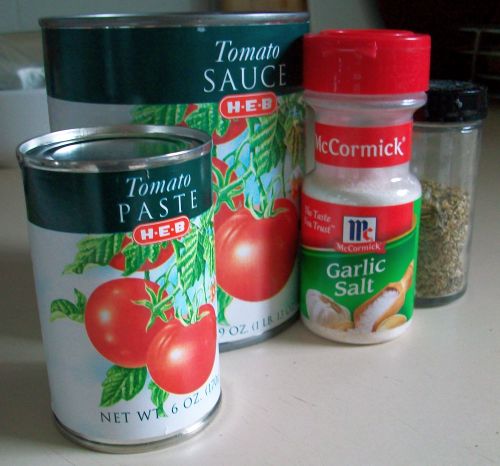
For the Nth time: I love canned tomatoes. But not photographing red pepper, apparently.
Pour your can of tomato sauce into a saucepan. Because this is what saucepans are for. Hence the name. I think.
Scoop about half the can of tomato paste and drop it into the sauce. If you want a thicker sauce, use the whole can. The possibilities are limitless, and it’s not like the Tomato Sauce Police are gonna raid your house if you start improvising.
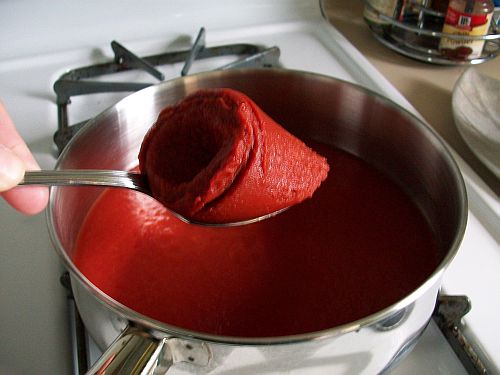
Mmm, pastey.
Add your seasonings. Honestly, the measurements I listed are just my best guess. I’m more of a pinch and dash kind of girl. I make alot of tomato sauces, so I just sorta know how much to use for the taste buds in my house. Add and taste as you go till you get what you like.
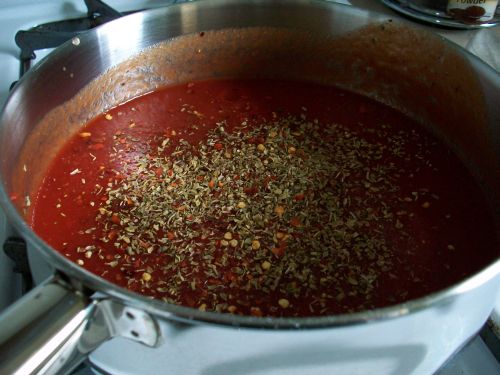
Ta-da! Red pepper makes an appearance!
Stir it all in and let it simmer over low-ish heat for at least half an hour. Why? Because the flavors need the time and the heat to get to know one another. Like a jacuzzi party for food. Is that even how you spell jacuzzi? Jacques Uzi? Zsakuzhi?
I’d like to take a moment to point out that it’s been raining for a while. Which is great, because the drought had gotten so bad around here that we’re on mandatory water restrictions. But the weather does impact this blog in two rather significant ways:
1 – Moody rainy day = moody rainy photo lighting
2 – Rain keeps The Girl awake at night. Who, in turn, keeps me awake at night. So I’m sleep-deprived and more than a little punchy. I apologize in advance. Jah-koo-zee!
Moving on. Half an hour or so of simmering, and your sauce looks somewhat like this:
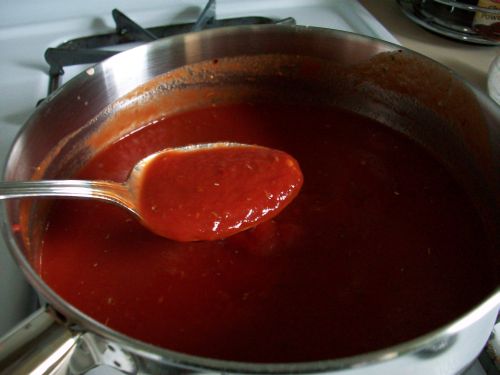
My kingdom for a basket of fried cheese sticks to dip in this.
Sauce is taken care of, time to turn our attention to the dough. Allow me to introduce you to the little critters who make pizza dough possible….
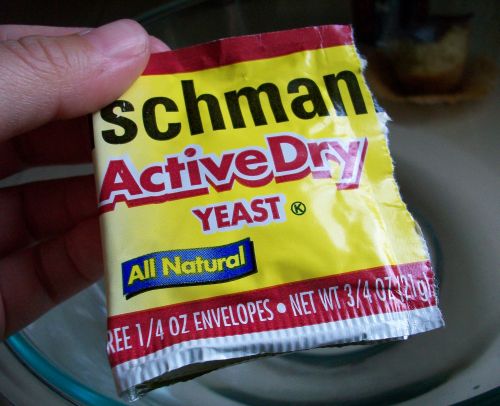
Hi!
Billions of dormant micro-organisms packed into convenient little envelopes. Ah, yeast. We’re about to throw these little guys a big crazy party, feed them till their little single-cell tummies are full, then mercilessly massacre them all.
Dough-making is pretty savage.
Okay, so we’re making two pizzas on this rainy day. One for the carnivores (The Husband and The Boy) and one for me. It will have veggies on it and it will be mine all mine.
To begin, it’s two cups of warm (not boiling!) water in a bowl. Then dump in two little packets of active dry yeast and add a tablespoon of sugar.
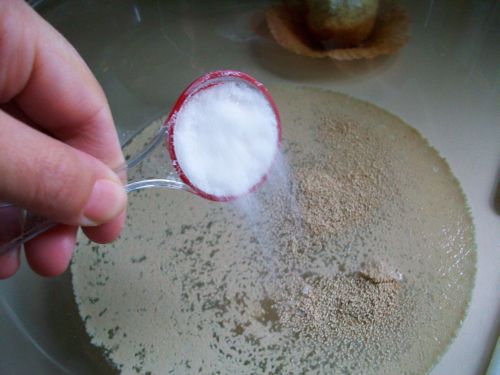
Why yes, that IS a half-eaten cupcake in the background. Don't you judge me.
Stir it till everything is dissolved then walk away for about ten minutes. The yeast is going to take it’s sweet time waking up and chowing down on the sugar banquet you just laid out, and you’ll only make yourself crazy hovering over the bowl and waiting like maybe you can speed up the whole process through force of will alone.
Not that I’m speaking from experience.
Once you have bubbles …
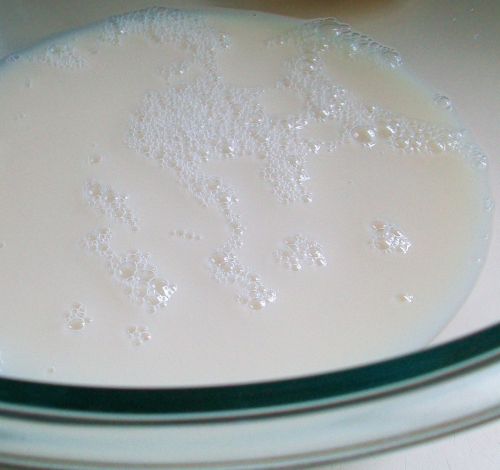
Pictured above: Yeast Woodstock '09
… you have active, happy yeast! Your dough shall be fluffy and delicious. So let it be written, so let it be done.
Now brace yourself. The next 20-30 minutes of your life will be filled with all-purpose flour. Scads and scads of it. Precisely how much is a “scad”? Roughly a cup.
Add flour to your yeasty water a scad at a time till you get dough. For two pizzas’ worth, it’s about 5-6 cups.
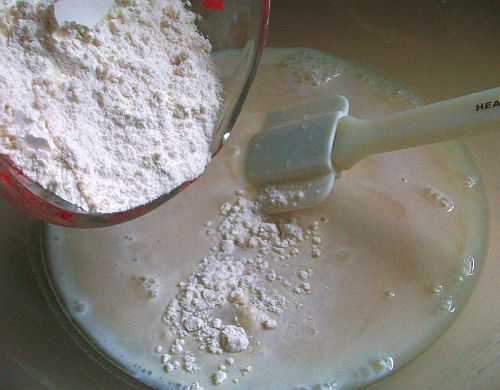
Scad #1 - Note the frothy yeast bubbles in the water
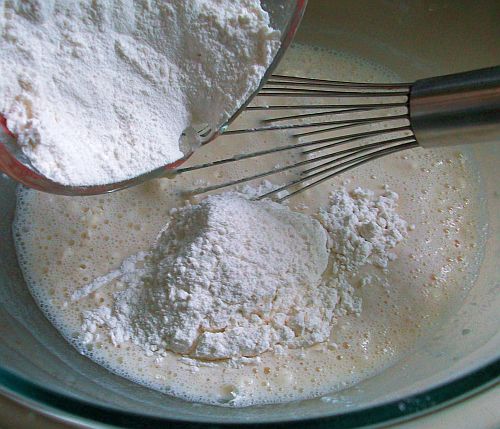
Stirring in the 2nd cup (scad), I switched to a whisk. Don't hate.
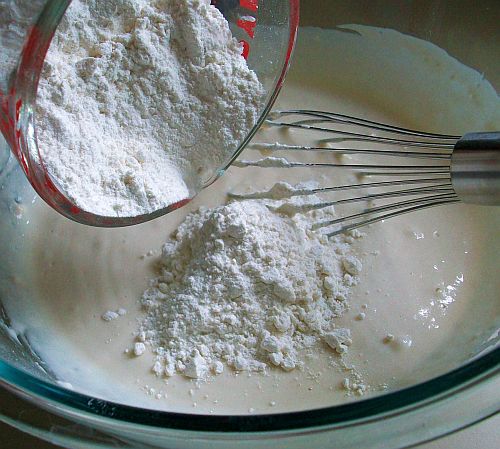
At this stage, I began to despair of this watery goop ever turning into dough.
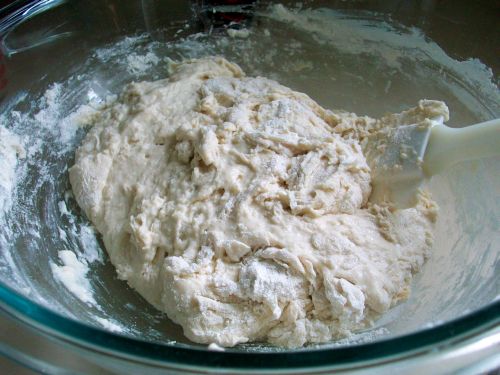
Scad #4 - Things are looking promising! Also, back to the spatula.
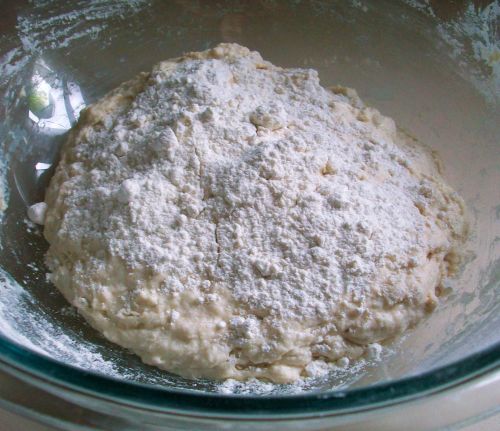
Five scads in, and it sho nuff looks like dough. Still super sticky, so I add more.
By the time it gets to this point, no mere kitchen utensil will work the dough nearly as well as your own clean hands. There are no photos of the kneading process, because the dough is wicked sticky and I am my own photographer. No amount of sleep deprivation will convince me to to handle my camera with doughy hands.
By the way, I’m told that a stand mixer will do all this messy mixing and kneading for you. I am not so financially blessed as to have one, so I do it the old-fashioned way until such a magical appliance drops out of the sky and lands in my kitchen. Hopefully metaphorically. In the meantime, I’ll look forward to The Kids getting old enough to help with the kneading and enjoying the unholy mess this part of the process makes.
Once it’s all kneaded together, roll it into a ball. Cover it in a warm, damp cloth (or paper towel, if you’re classy like me) and leave it alone for 15-20 minutes. The dough needs to rest. The dough needs to rise. The yeast is still partying, and it can only mean good things.
In the meantime, take a moment to prep your pizza toppings.
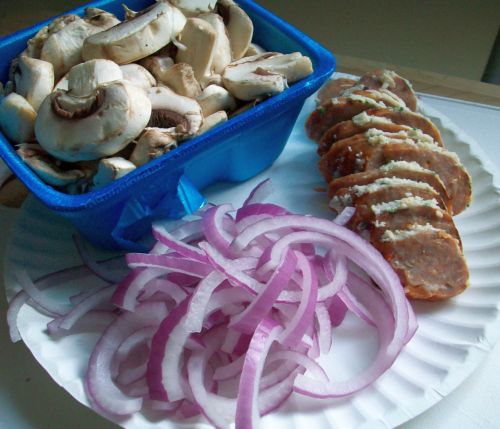
Shrooms and onions for me, italian sausage for the boys, and ...
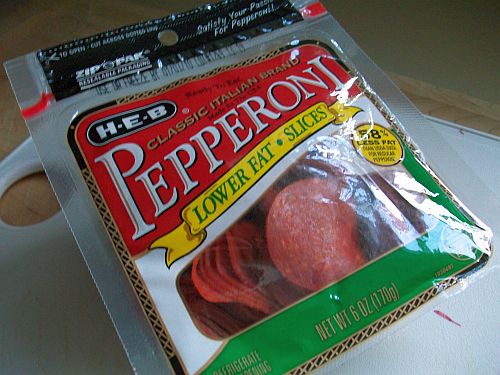
Because in The Husband's world, pizza is not pizza without it.
Side note: one package of pepperoni will last you FOR-E-VER. True story.
Time passes, cover is lifted, and presto! We have dough:

Oh hell yeah
Tear the blob in half. Re-cover what’s still in the bowl. Slap the rest onto a VERY floured surface.
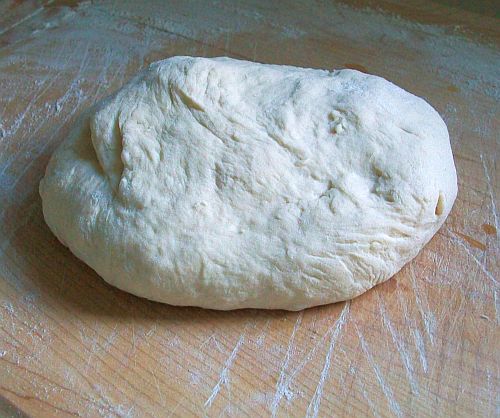
Flour flour flour
Keep some flour on standby. You’ll be re-flouring alot. Now dive in with your bare, clean hands again and knead this stuff some more. Just until it feels good and elasticy, but not so firm it won’t roll out. Is elasticy a word? Well it is now.
I’m not so cool that I think I can toss pizza dough in the air and make anything but a disaster happen. I beat my dough into submission. I roll it out with a rolling pin (aka – a large pastic cup covered in flour, because I don’t have a rolling pin).
Then I brush my ugly old pizza pan all over with olive oil and lay out the dough. It’s time for pizza construction.
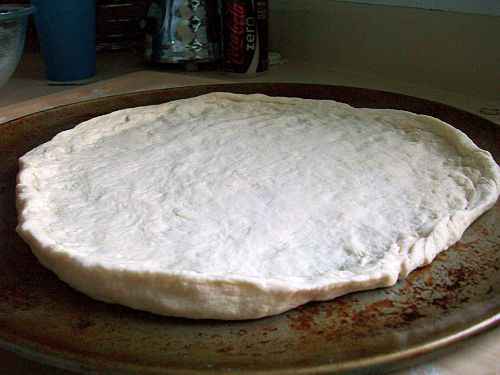
I even pinched up the edges to form a crust, like maybe I know what I'm doing.
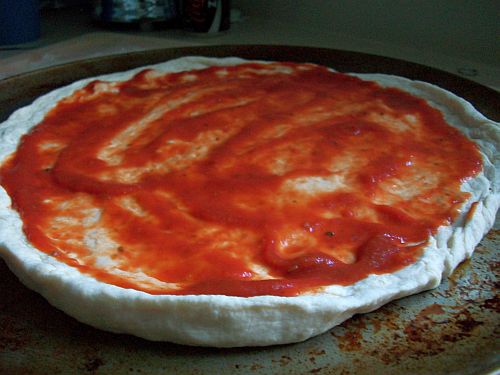
Sauce! A little goes a long way. This here is maybe half a scad.
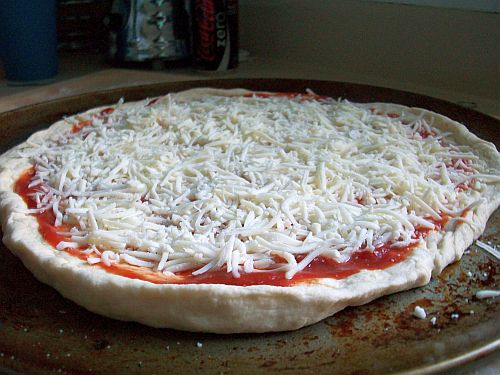
Do NOT try to cut calories and get fat-free cheese. That way lies madness.

Meat! Glorious meat!
Do yourself a favor and brush some olive oil around the edges of your dough. Trust me. This is the path to crunchy-shell-soft-chewy-center enlightenment.
Now, for pizza #2. And I only have one actual pizza pan. Drat ….
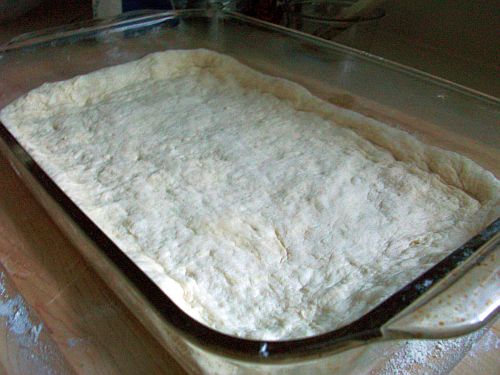
9x13 Pyrex Lasagna Pan, is there anything you CAN'T do?
Turns out, a glass pan brushed all over with olive oil works just as well. Spread the dough out into the corners, olive oil the edges, and top artfully:
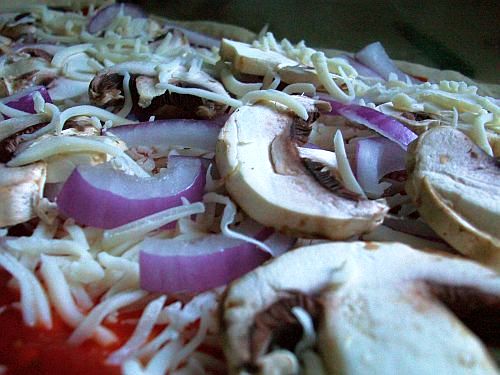
Veggies! Glorious veggies!
Toss both pies in the oven at 375. The thinner-crust meat pizza only took about 20 minutes to be golden brown deliciousness. Pizza #2 in the 9×13 pan had a thicker crust and took a bit longer, about 30 minutes.
Pull them out of the oven and let them rest a few minutes. If you can stand it. Then slice away!
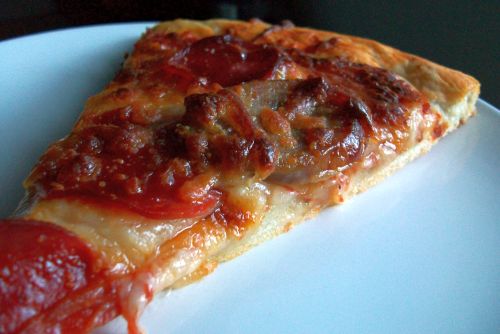
Great googly moogly!
To my delight, I discovered that the pizza in the 9×13 pan just slid right out …

Oh my ... I ... I need a moment ...
Pardon the lighting. By this point, the rain clouds had settled their big gray selves right on top of my house and there was no choice but to flip on the flourescents.
But check out that crust!
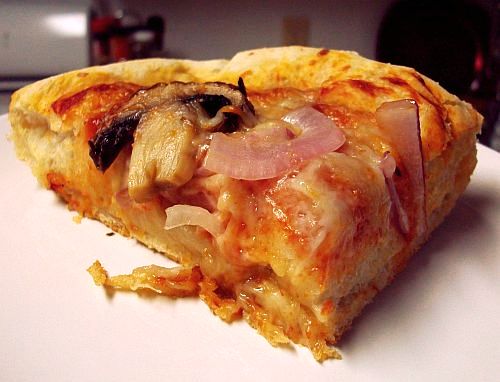
Soft, pillowy, with a crisp crunchy shell. Have mercy.
Is there anything better than mushrooms on a pizza? No. No there is not.
Long story short (waaaaaay too late), for less than $5 you can have two big wonderful pizzas made exactly how you want them. No swimming in grease and skimpy toppings. No flavorless overpriced cardboard. Make this pizza, and angels will sing, your husband will worship you, and the IRS will give you a great big tax refund.
These are the secrets of the universe. (partially untrue)

[…] if biscuits had yeast. And I’m getting over my fear of yeasty baking, insomuch as I’ve conquered pizza dough. But this entire recipe was fairly experimental and I was in the mood to cut […]
[…] October 15, 2009 Filed under: Uncategorized — skwishface @ 7:52 am A while back, whilst rambling about pizza dough, I mentioned that a stand mixer would probably make the life of dough mixing easier. Since, ya […]
[…] Cannonballs 1 batch of homemade pizza dough and sauce 16 oz. fresh mozzarella (one big hunk sliced into cubes, or those adorable little balls) 1 package […]